Wooden Hive Assembly

After considerable delay the wooden hive (National configiration) finally arrived from Donegal Bees:

Package
Hive packaged opened and ready to get started.

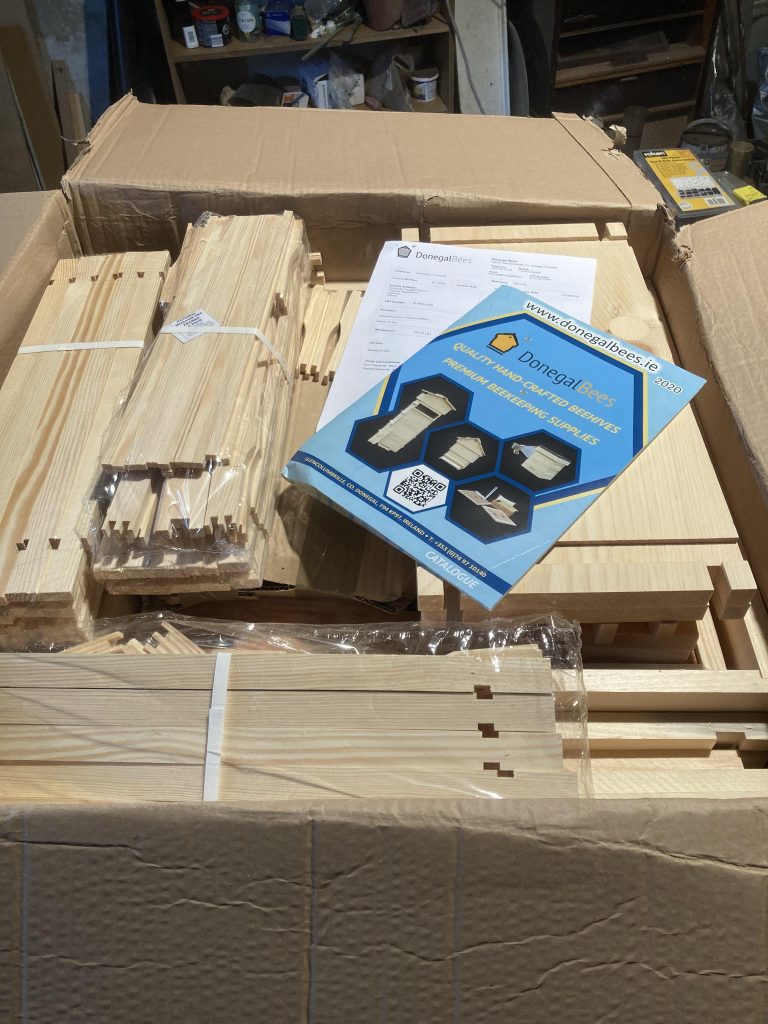
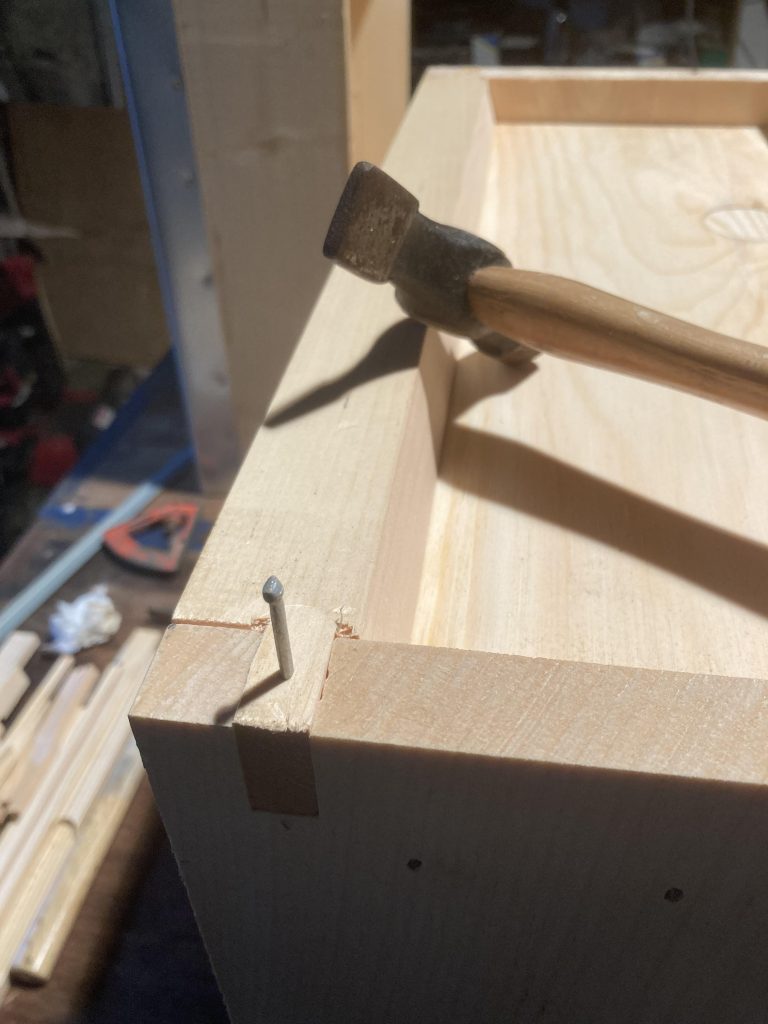
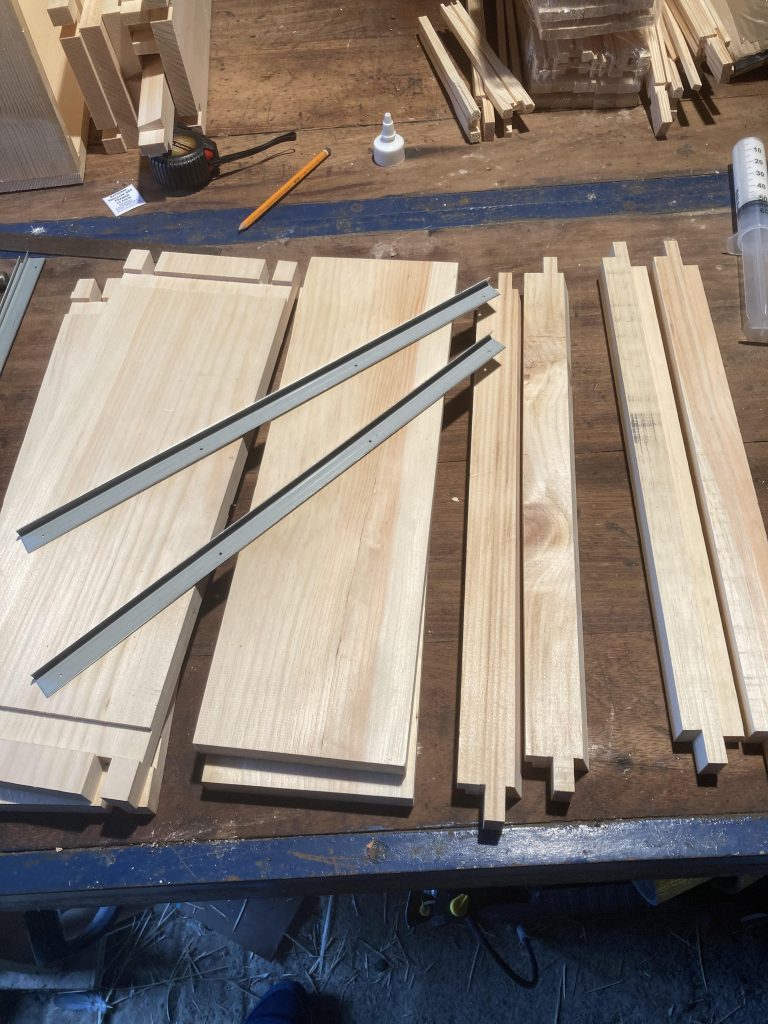
First, the contents were unpacked. Was surprised to find that there were no instructions for assembly of the flatpack items. Not a good start! Tried the supplier website but could not find instructions there either. Luckily I was able to find an excellent step by step instruction video on the Thorne site so work could begin.

Contents
Package contents on workbench.

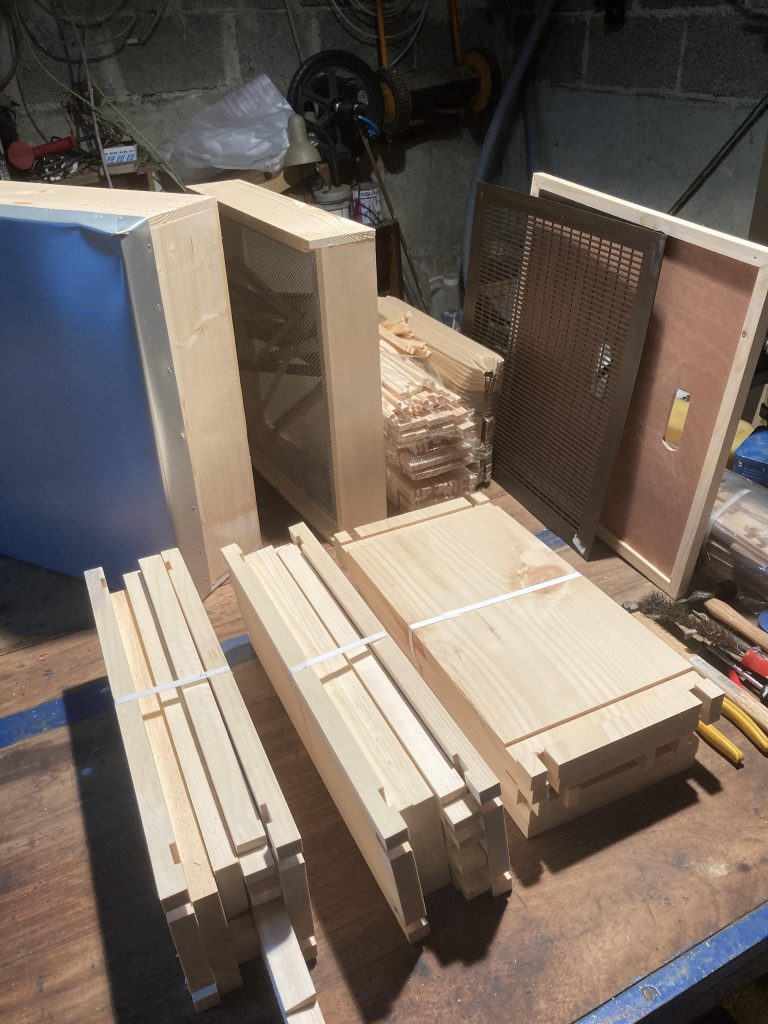
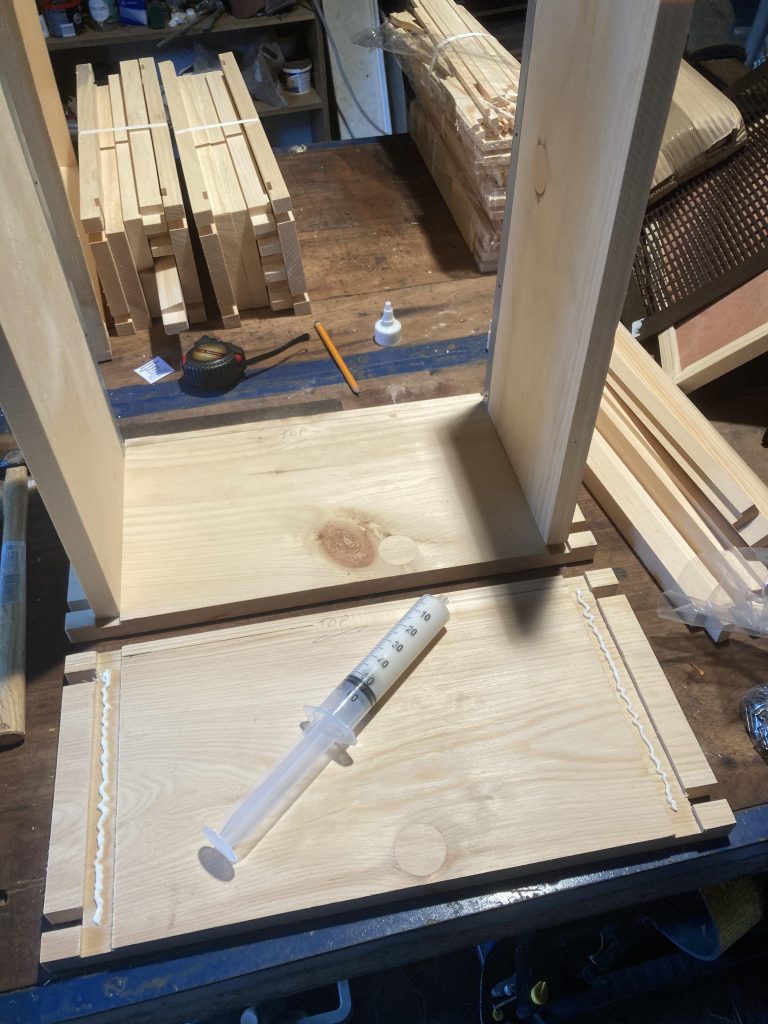
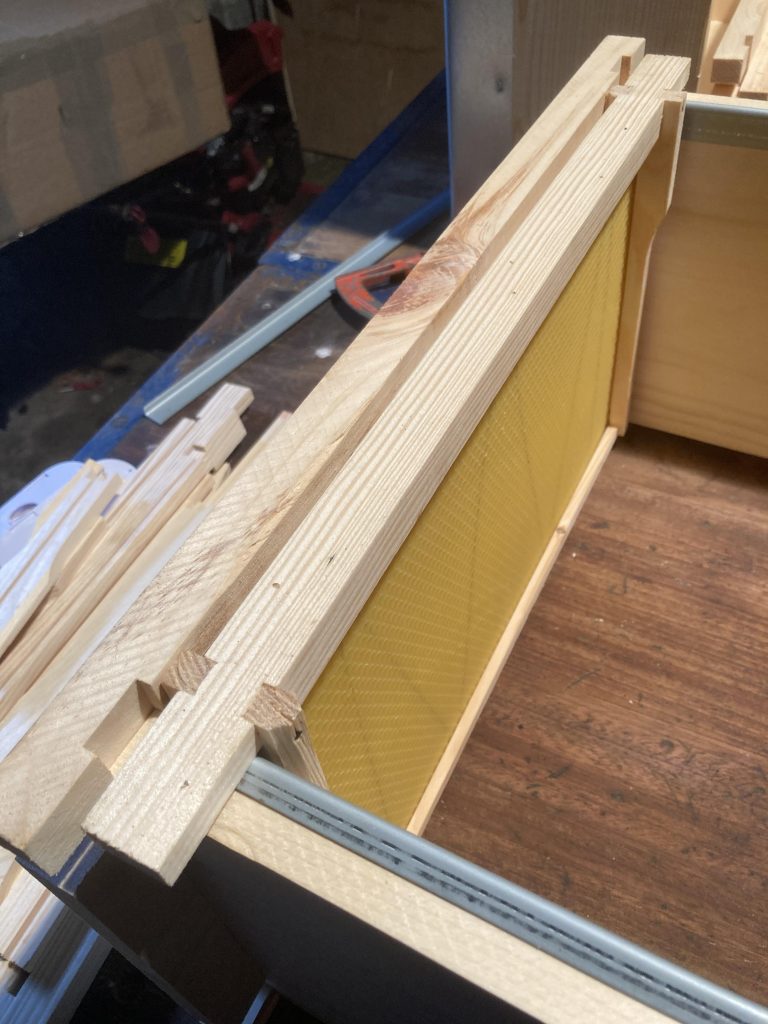
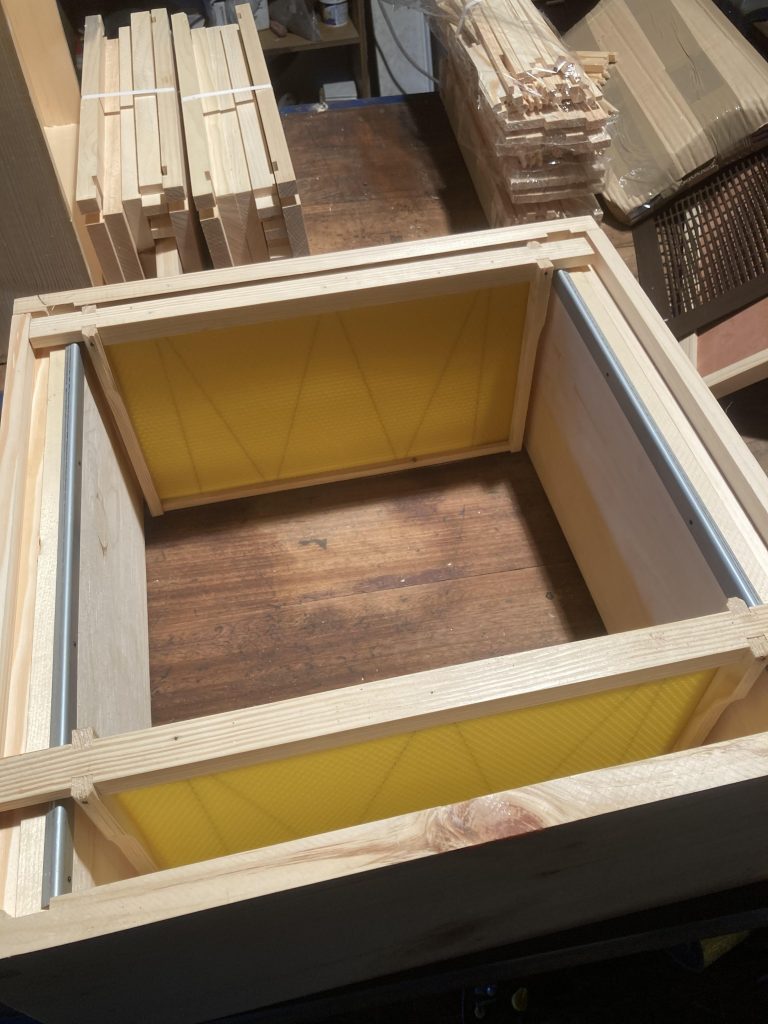
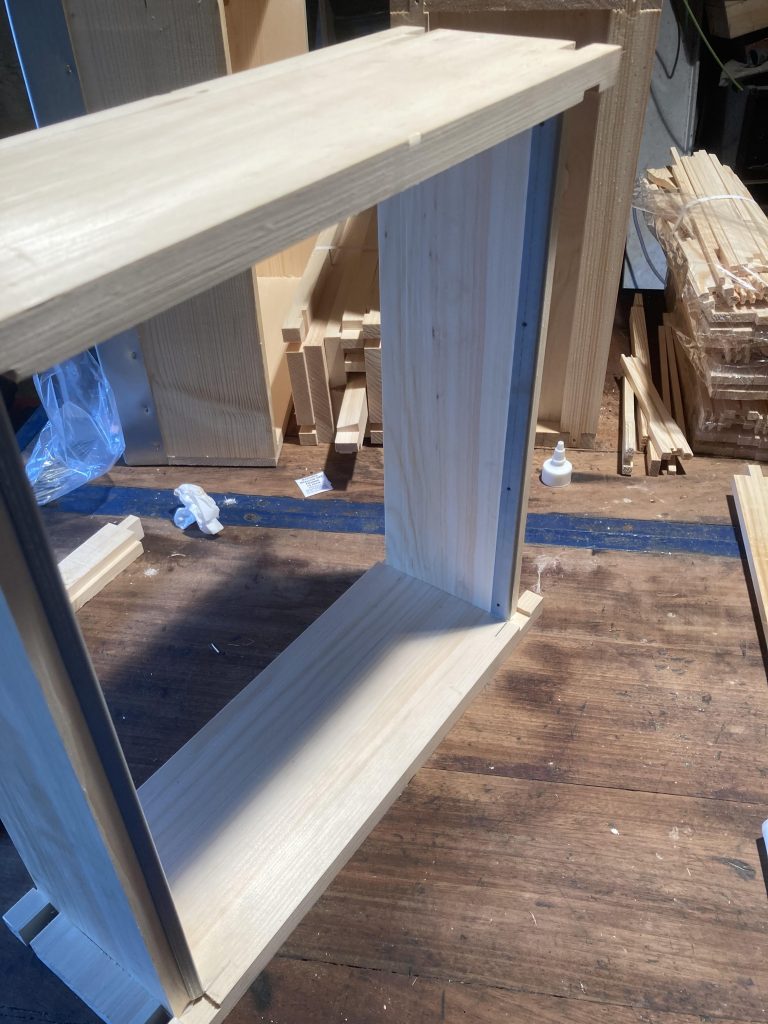
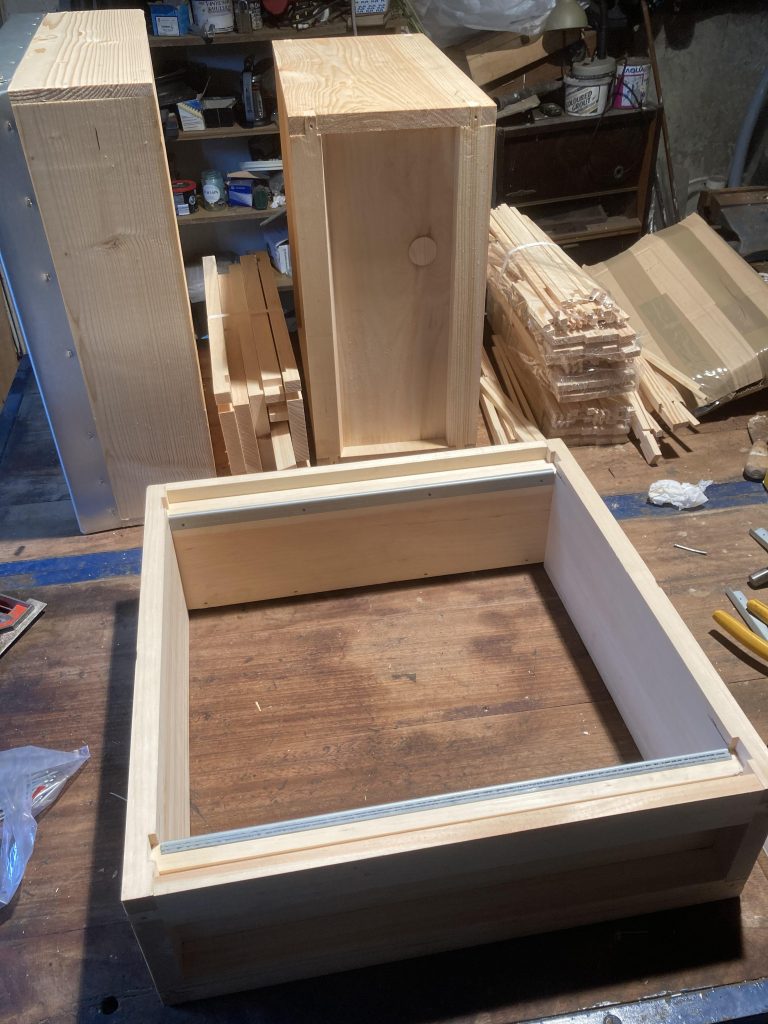
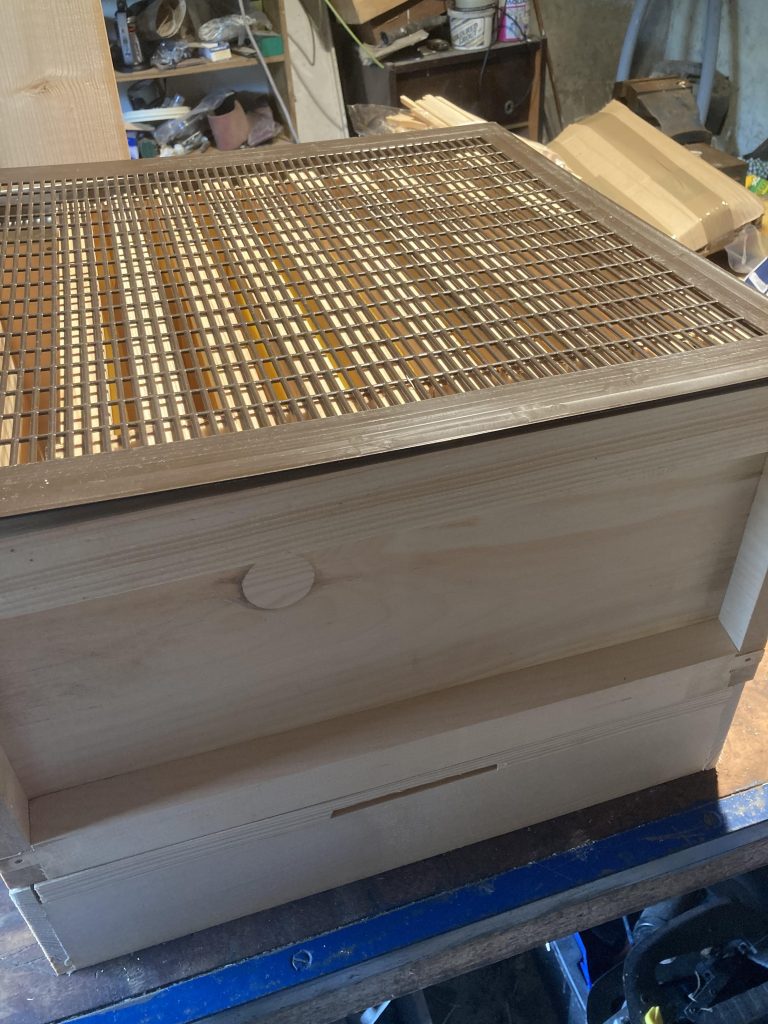
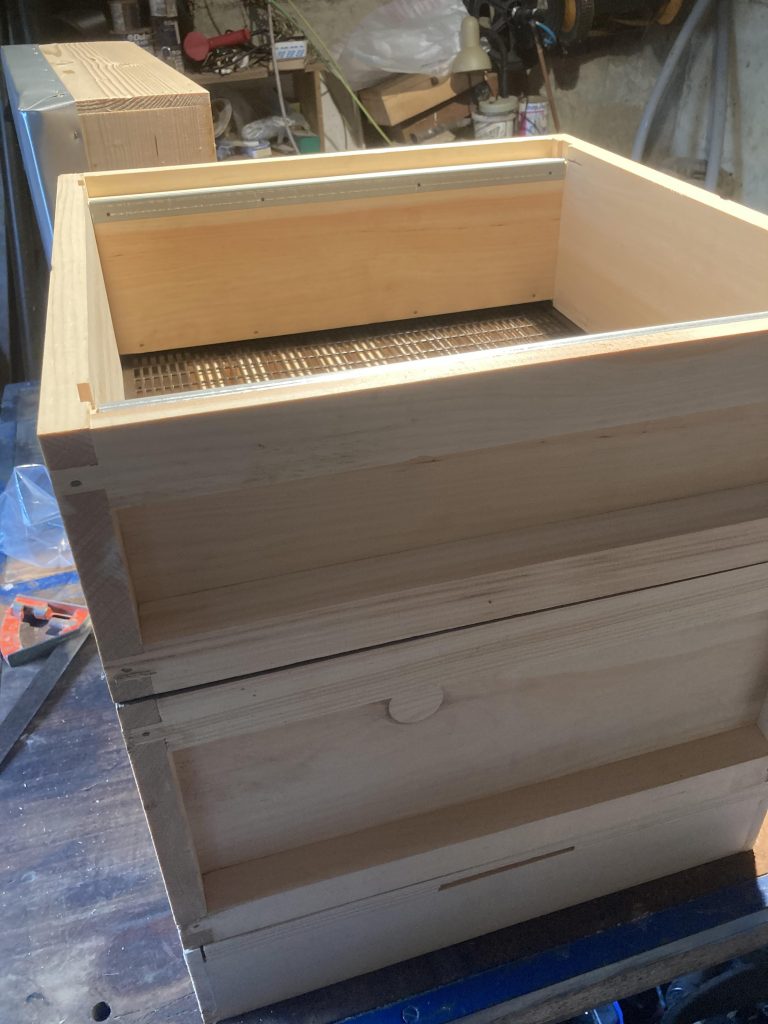
The hive base contained further component items which were easily extracted. Work could commence on the assembly of the brood box.

Hive base contents.
The pre-assembled base unit with packed contents.

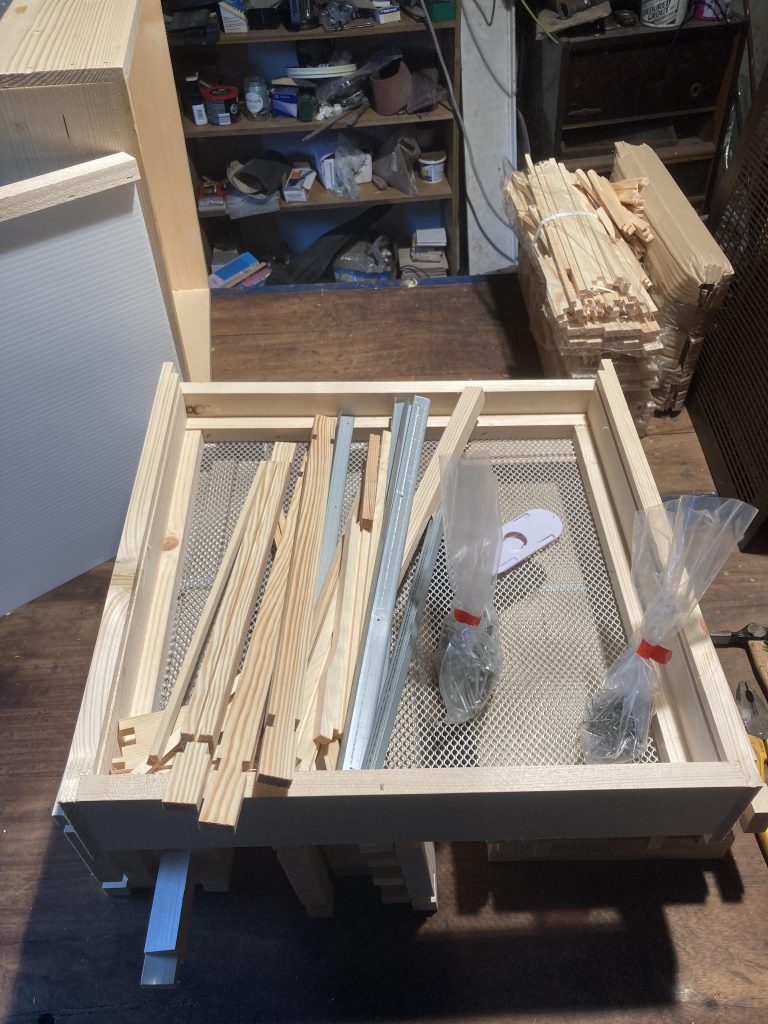
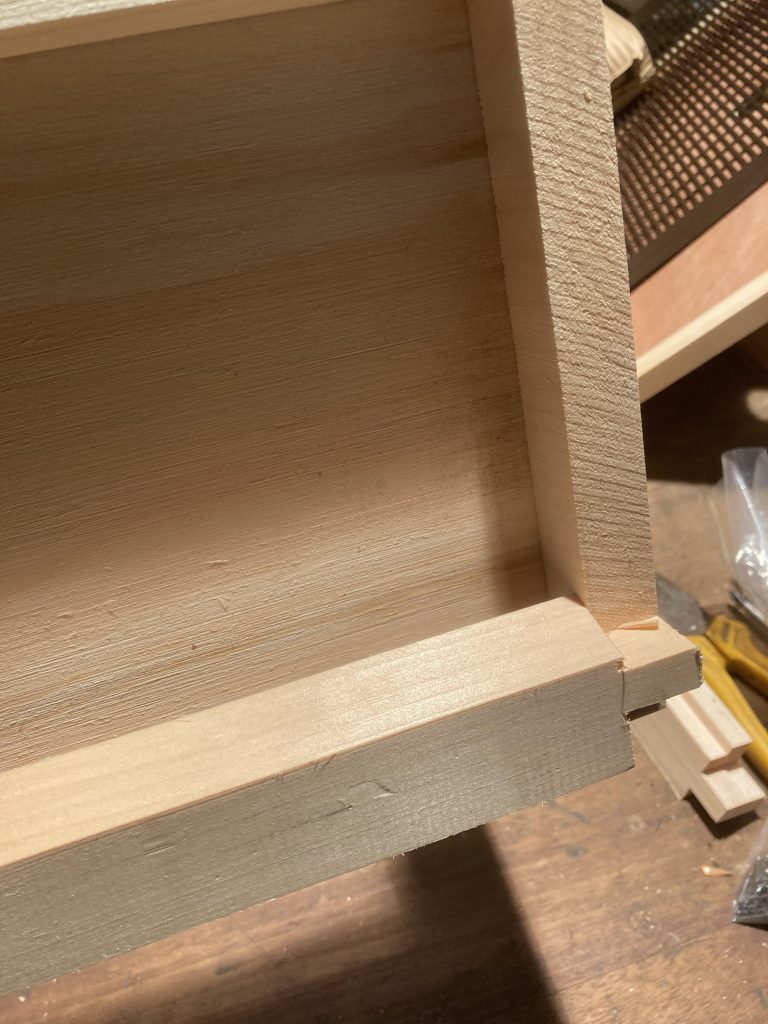
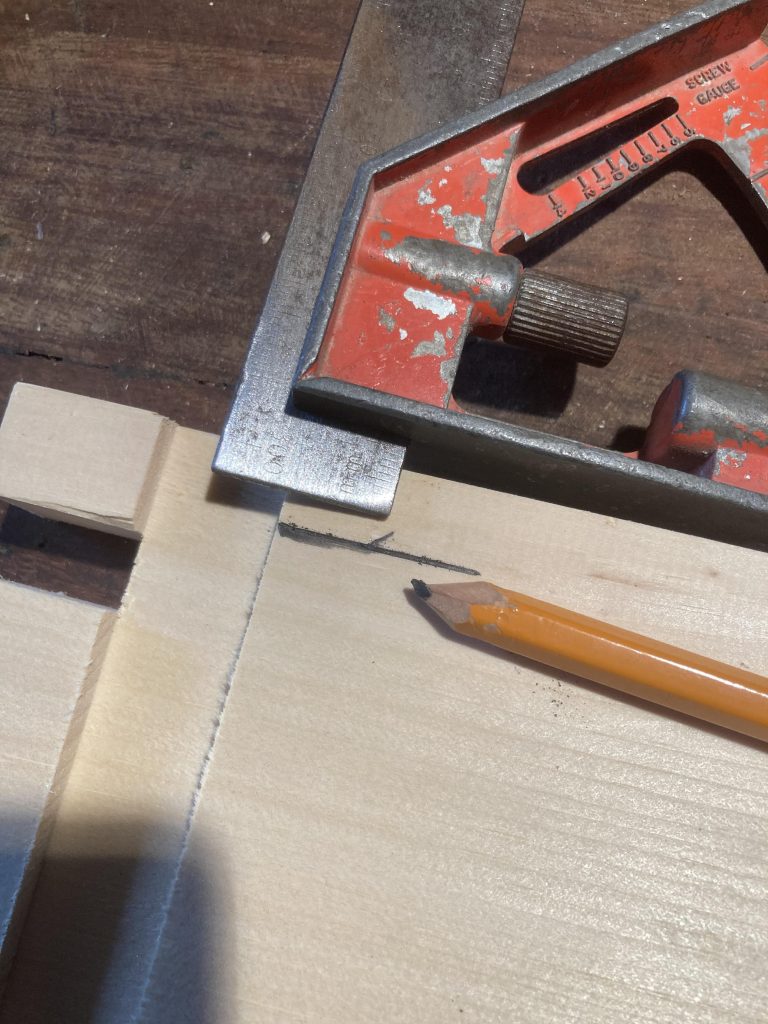
The inner walls of the brood box were arranged on the workbench and the runner rails were positioned in place on the edges leaving equal edge gaps at both ends.

Inner walls
Brood box inner walls with runners nailed into position.

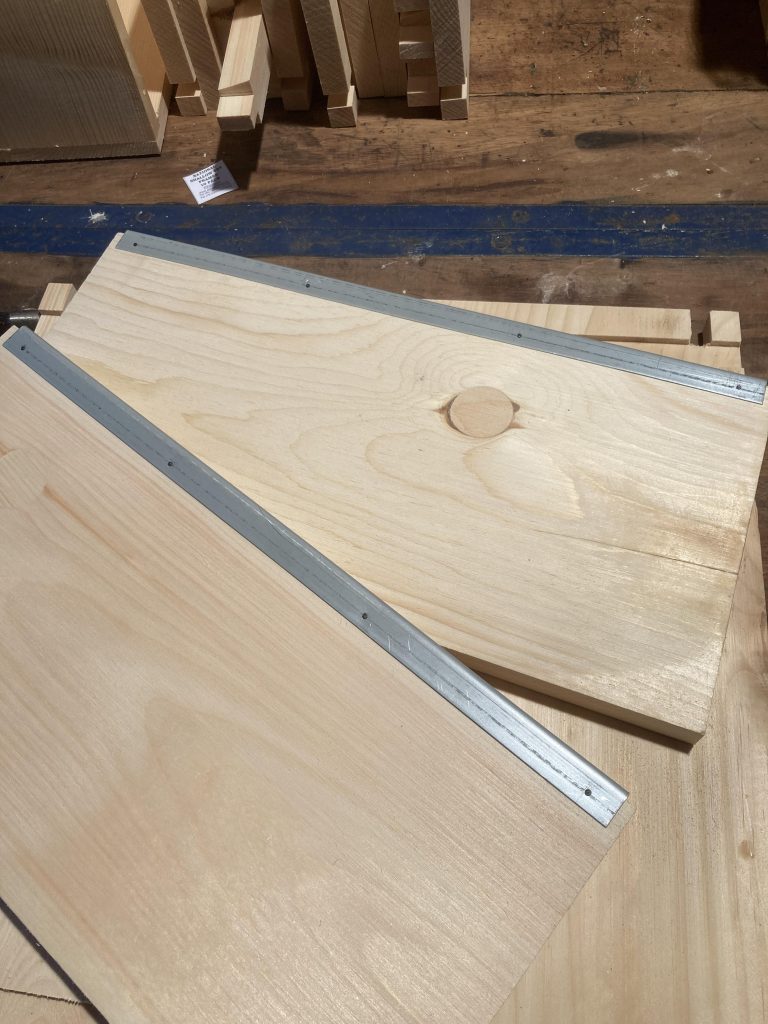
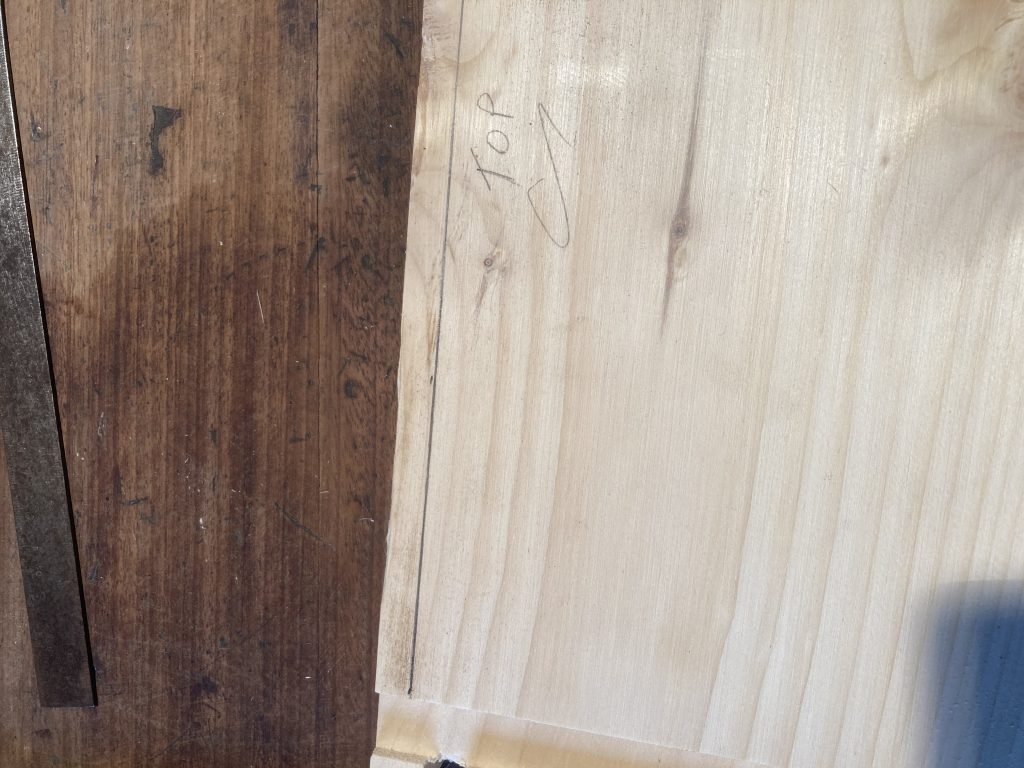
Next pencil lines/marks were placed on the outer walls 11 mm from the top edge. These marks will act as alignment marks between the runners on the inner walls and the outer walls so as to position the frames correctly in the box leaving the appropriate ‘beespace’ at the bottom. Therefore, this is a critical step and should be done with as much accuracy as possible.

Top Marks on outer walls.
Marks placed 11 mm from top edge of each outer wall to act as alignment marks with the runner edges on the inner walls.
Glue
Used a syringe to place a bead of external wood adhesive along the outer wall groves.
Loose Assembly
The box was assembled loosely with runner rails aligned with outer wall pencil marks. A brood frame was used to check that alignment was correct.
Brood box nailing.
Four 1.5″ nails were used to secure the brood box walls together.
Top Bottom Bars
Top and bottom bars were then pressed into place. The top bar has the rebated edge upwards so as to accept the frame lugs. The bottom bars have chamfered edges. These face up but with slope downward and out so as to shed drops/rain.
Bottom Bar
Bottom bar positioning with top chamfered edge sloping down away from box wall.
Second check of squareness and fit of frames.
Final broodbox nails.
Finally, the box was further secured by nailing the rail ends to the walls.
Super components.
The super flatpack comprises similar components to the broodbox.
Super runners.
The super runner rails were fitted to the inner walls following the same procedure as for the broodbox.
Marks
Again the outer walls were carefully marked 11mm from the top at both ends of both walls.
Super bars
The top and bottom bars were fitted as for the broodbox.
Super assembled.
The super was glued and nailed together along the edges and at the ends as for the brood box.
Hive base
The hive base was then placed on the worktop with the bee entrance slot fitted as shown.
Brood box with frames
The brood box was placed on top of the base and aligned. Brood frames were added and the queen excluder was placed on top of the box.
Base, broodbox and super.
A super (without frames) was placed on top of the broodbox/queen excluder.
Crown board.
The bee ‘doors’ were then inserted into the pre-cut crownboard slots. These allow the bees traverse the door in one way/direction only.
Roof
Finally the pre-assembled roof was added to the hive to complete the assembly.

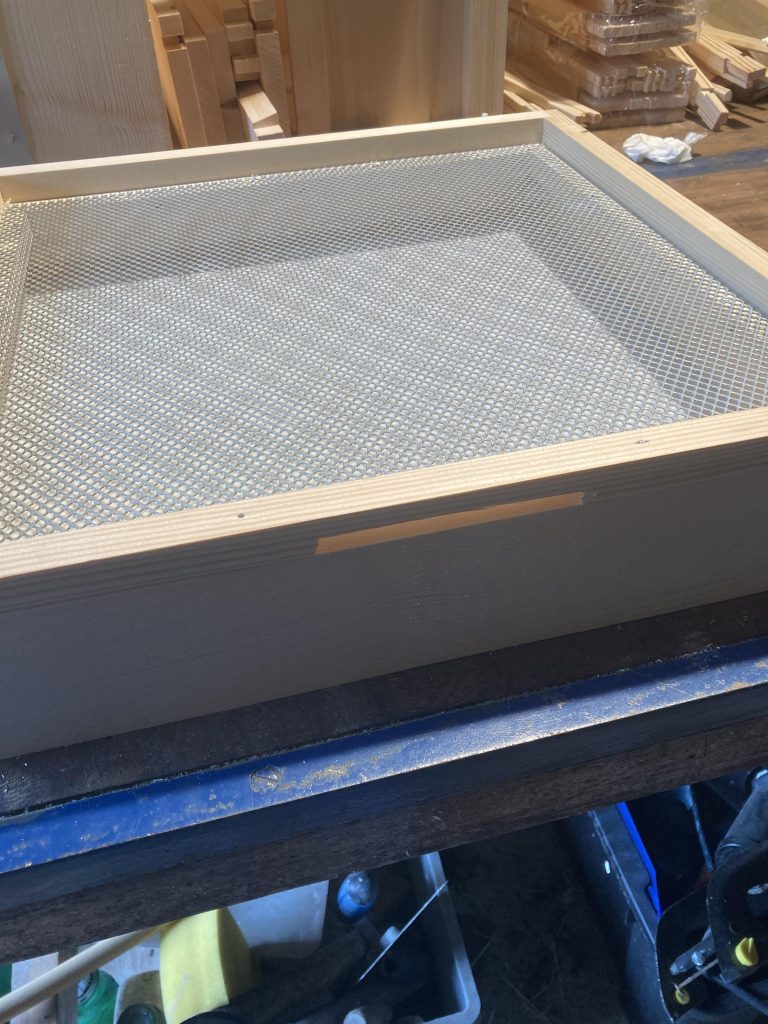
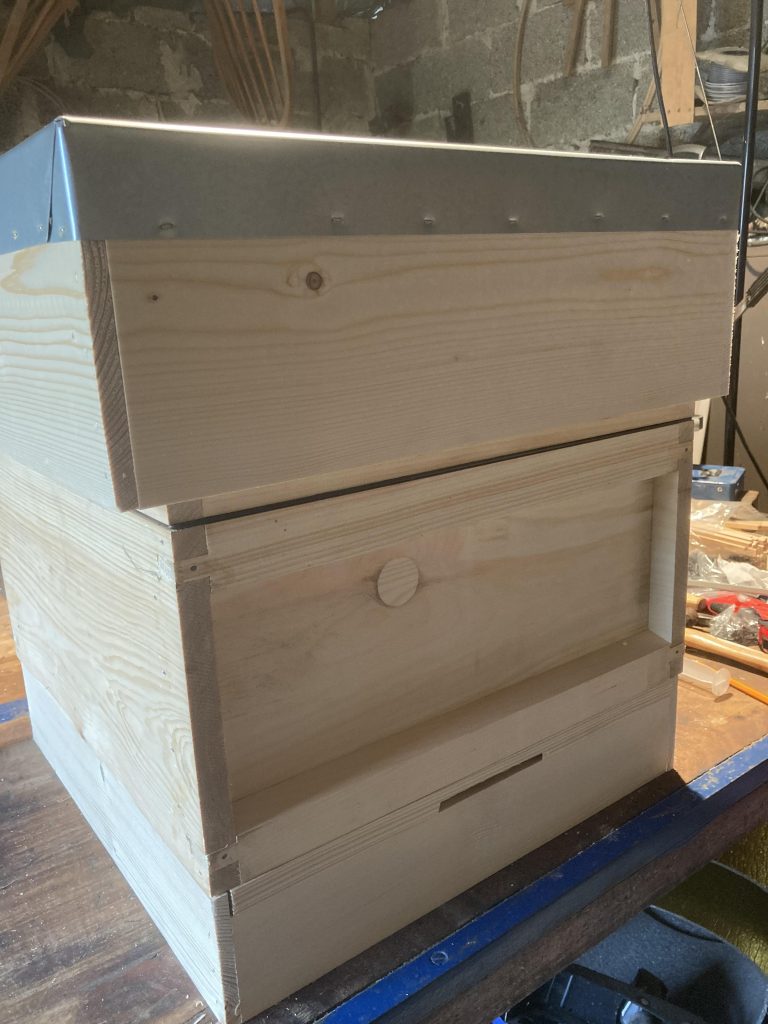
The hive is now ready for inspection and certification by an experienced beekeeper. If it passes its inspection we can proceed to painting and decorating – we need a colourful distinguishing target painted on the front of the hive so the bees can recognise their hive from all the others in the Apiary. Suggestions welcome.